We’ve learned a lot over our years of beekeeping, however (and to use a tired metaphor), our knowledge seriously represents just the tiniest tip of an enormous iceberg. Over the years we’ve extracted honey every year except one. We’ve done it without an extractor and with one (borrowed from a friend). One year we extracted about 80 pounds, but this year our plan was to process enough to pay back those who donated to us in the spring and to keep some for ourselves. The rest is for the bees. We may extract in the spring, since there always seem to be frames they fail to find during the winter months.
So I offer this visual explanation of honey extraction with the disclaimer that we are, quite simply, backyard keepers. I’m sure there are fancier methods or smarter methods (by all means, leave me a comment), but know that we do what we can small scale and with a small budget!
Obviously the VERY first step is to gather all the frames of honey you want to process. We decided to do 8 of them.

Ok, so then you need to wash all of the equipment and dry it really well. Or, you can take pictures while your husband washes all the equipment, but then he’ll say something like, “Why don’t you dry?” and you’ll feel guilty, so you’ll help too.

(Please take note of those “America” paper towels. I found them for 69 cents at Aldi’s after the 4th of July. I guess America is only worth full price in June!)
A honey frame is ready to process when the honey cells are “capped” (or sealed with a wax lid, so to speak):

In order to get the honey out, you have to either puncture the cappings or cut them off. When you have a frame so big and full that the comb extends out beyond the edges of the frame, it’s easier to cut. You can use a capping knife or, if you can’t find your capping knife (cough, cough), you can use a serrated bread knife:

If the frame is not so large, you can use this tool (called a capping scratcher) to open the caps:

Actually, you use this the other way and scoop the comb moving upwards – this photo is a bit misleading. This guy’s got it down.
Anyway, you then put the uncapped frames in the extractor and crank the handle to spin, spin, spin the frames!

It’s hard to see, but here are a couple frames after they come out of the extractor. The comb is open and the honey has been extracted out:

And then you repeat again and again until you’ve processed all the frames. When you’ve finished, you open the spicket and drain the honey and cappings into a 5-gallon bucket that is topped with a filter. Now, I carried extracted frames to the back field during this, so I didn’t get any pictures. There are a variety of filter sizes. You can use filters of different sizes (600, 400, and 200 micron). The largest allows the maximum amount of particles (pollen, specifically) to remain in the honey and, obviously, the smaller the screen, the more filtered your honey will be. Here are the cappings in the top of the filter:

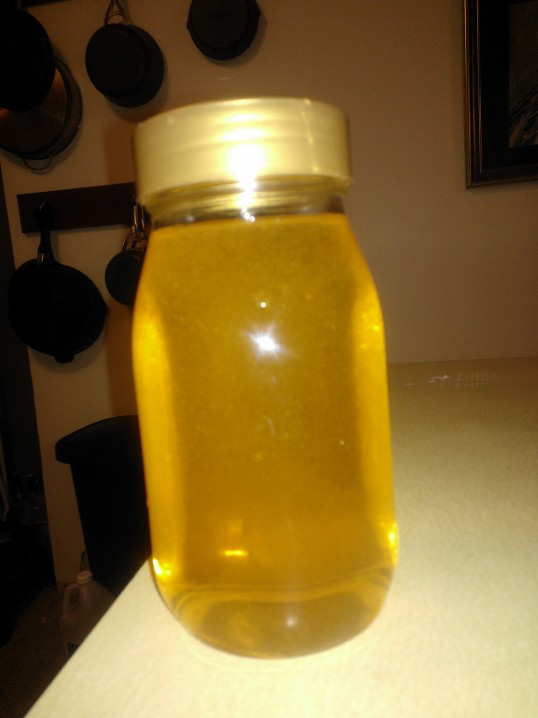
Below is a picture of the filtered honey:

Voila. From here you can use the spicket in the bottom of the bucket to empty the honey into jars!

You’re right if you think, wow that process must be messy. Yeah, it is and it’s sticky, but it’s totally worth it! Plus, when you clean up, the following things ARE allowed: eating any stray honey that has dripped on anything and eating hunks of comb!

In terms of cleaning up the extractor, frames, and buckets, we put everything out by the hives (not too close so as to attract robbers) and let the bees rob it for a couple days. Then we bring it in and wash it off. If you put the extracted honey frames back in the hive, the bees will have those things cleaned up in no time! This is great if you, like us, hate to waste even one drop of honey. Either we jar it, or the bees get it back!